Irritrol RD 600 Instruction Manual: A Comprehensive Guide
This manual provides detailed guidance for the Irritrol RD 600, RD 900, and RD 1200 series controllers․
It covers installation, programming, troubleshooting, and maintenance procedures, ensuring optimal irrigation system performance․
Resources like user manuals and programming templates are readily available online for comprehensive support and repair assistance․
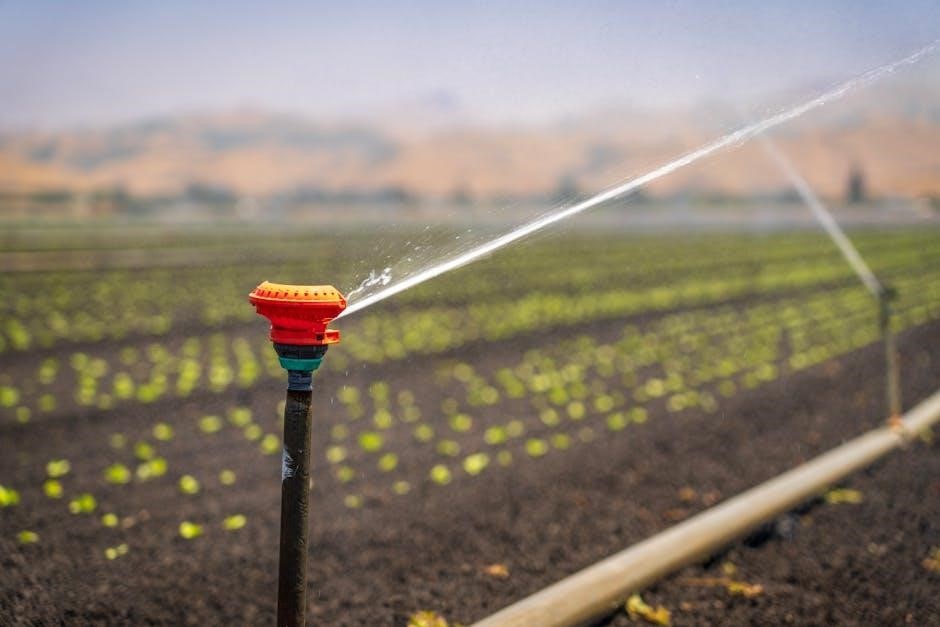
The Irritrol RD 600 is a widely-used irrigation controller, known for its reliability and user-friendly interface․ This controller, along with the RD 900 and RD 1200 models, manages sprinkler systems for residential and commercial landscapes․ Understanding its features and functions is crucial for efficient water management․
This instruction manual serves as a comprehensive resource for users of all levels, from beginners to experienced irrigation professionals․ It details the controller’s capabilities, covering everything from initial setup and programming to advanced features like rain sensor compatibility and seasonal adjustments․ Online resources, including manuals and programming guides from the “Rain Dial Doctor,” supplement this guide․
Whether you’re installing a new system or troubleshooting an existing one, this manual will provide the information needed to optimize your irrigation schedule and conserve water․ Accessing the official Irritrol website is also recommended for the latest updates and support materials․
Understanding the RD 600 Series (RD 600, RD 900, RD 1200)
The Irritrol Rain Dial series – RD 600, RD 900, and RD 1200 – share a common platform, differing primarily in the number of zones they can control․ The RD 600 manages up to 6 zones, the RD 900 handles 9, and the RD 1200 supports up to 12 independent watering zones․ This scalability allows users to select a controller suited to their specific landscape needs․
Despite the varying zone capacities, the core programming logic and functionality remain consistent across all models․ This means that learning to program one model largely translates to understanding the others․ Repair and exchange services, like those offered by the “Rain Dial Doctor,” often cater to all three versions․
User manuals and programming templates are generally applicable across the series, simplifying maintenance and troubleshooting․ Regardless of the model, accessing official Irritrol resources ensures accurate and up-to-date information․
Key Features and Benefits
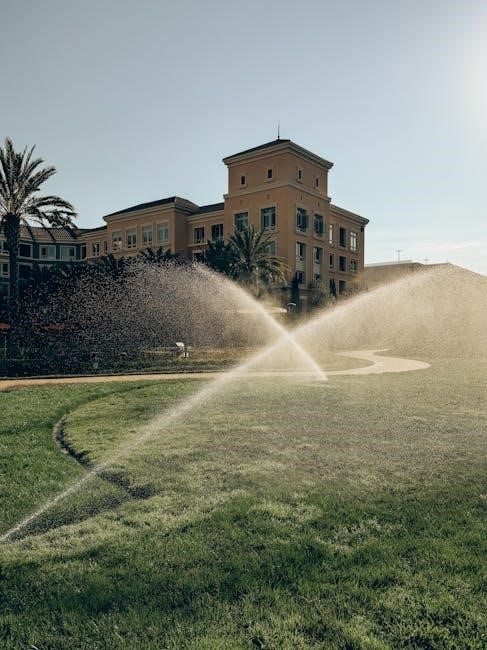
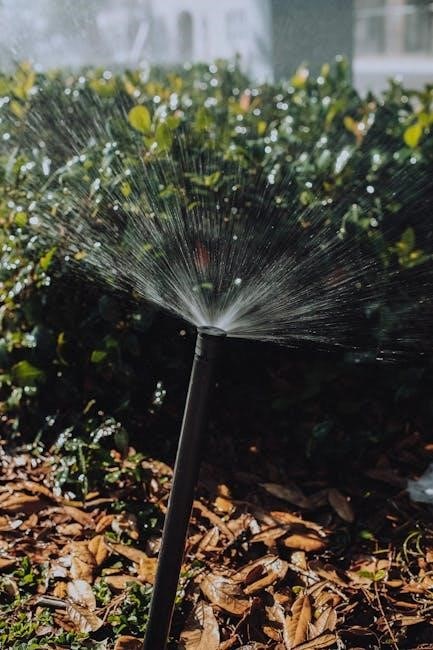
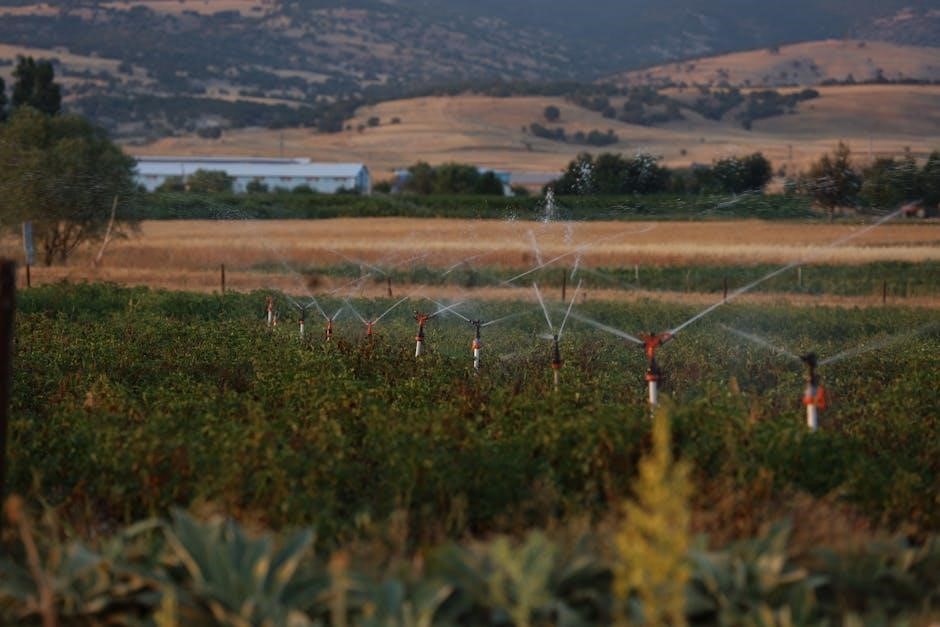
The Irritrol RD 600 series controllers offer a user-friendly approach to automated irrigation․ Key features include independent zone programming, allowing customized watering schedules for different landscape areas․ Cycle and soak functionality promotes efficient water usage by preventing runoff, while seasonal adjustment capabilities adapt to changing weather conditions․
Compatibility with rain sensors further enhances water conservation, automatically pausing irrigation during rainfall․ The controllers’ robust design ensures reliable performance, and readily available repair services extend their lifespan․ Programming is straightforward, aided by online guides and templates․
Benefits include reduced water waste, healthier landscapes, and convenient automated control․ The RD 600 series provides a cost-effective solution for maintaining a beautiful and efficient irrigation system․
Installation Guide
Proper installation is crucial for optimal performance․ This section details unpacking, wiring, valve connections, and power supply requirements for the Irritrol RD 600 series controllers․
Unpacking and Initial Inspection
Carefully unpack the Irritrol RD 600 controller from its packaging, ensuring all components are present․ Verify the package includes the controller unit itself, a mounting plate, and this instruction manual․ Inspect the controller for any visible signs of damage incurred during shipping, such as cracks, dents, or loose components․
If any damage is detected, immediately contact the seller or Irritrol customer support․ Do not attempt to install or operate a damaged controller․ Confirm all wiring connectors and terminals are intact and secure․ Check for any missing screws or mounting hardware․ Before proceeding with installation, familiarize yourself with the controller’s external features, including the wiring compartments, display panel, and programming buttons․ A thorough initial inspection will prevent potential issues during setup and operation․
Wiring Diagram Overview
The Irritrol RD 600 utilizes a straightforward wiring configuration, essential for proper zone control and operation; Typically, you’ll find terminals for common wires, valve zones (numbered sequentially), and connections for auxiliary features like a rain sensor or master valve․ Refer to the detailed wiring diagram located inside the controller’s battery compartment or in the full user manual․
Each zone wire connects to a corresponding numbered terminal․ The common wire provides power to all zones․ A master valve, if used, requires separate wiring for control․ Ensure all wire connections are secure and properly insulated to prevent shorts or malfunctions․ Incorrect wiring can damage the controller or valves․ Always disconnect power before making any wiring changes․ Understanding the diagram is crucial for successful installation․
Valve Connections and Zone Configuration
Proper valve connections are vital for efficient irrigation․ Each valve corresponds to a specific zone within your irrigation system․ Connect the common wire from the controller to the common terminal on all valves․ Then, connect each zone wire from the controller to the corresponding valve terminal․ Carefully label each wire during installation to avoid confusion during troubleshooting or future modifications․
Zone configuration within the RD 600 controller dictates the watering schedule for each valve․ Assign each zone a number that matches its corresponding valve․ This ensures accurate programming and operation․ Consider factors like plant type and sun exposure when assigning zones․ Incorrect zone configuration will result in improper watering․ Double-check all connections and programming before activating the system․
Power Supply Requirements
The Irritrol RD 600 requires a standard 120V AC, 60Hz power supply․ A dedicated circuit is recommended to prevent interference from other appliances․ Ensure the power supply is properly grounded for safety․ Use a weatherproof enclosure to protect the controller and power supply from the elements․ A transformer may be necessary if your voltage differs․
Battery backup is crucial for maintaining the programmed schedule during power outages․ The RD 600 utilizes a 9V battery, which should be replaced annually or when the low battery indicator appears․ Without a functioning battery, all programmed settings will be lost․ Always disconnect the power before replacing the battery․ Proper power supply and battery maintenance are essential for reliable operation․
Programming the RD 600
Programming involves accessing the controller’s mode, setting the correct date and time, and creating customized watering schedules for each designated zone․
Accessing the Programming Mode
To enter the programming mode on your Irritrol RD 600, begin by ensuring the controller has power․ Press and hold the “Program” button for approximately three seconds until the display begins to flash․ This indicates you’ve successfully entered the programming environment․
The initial screen will likely prompt you to enter a security code, if one has been previously set․ The default code is often “0000”, but consult your specific manual if this doesn’t work․ Once the code is accepted, you’ll navigate through the various programming options using the arrow buttons – typically “Up” and “Down”․
The “Enter” or “Select” button confirms your choices․ Remember to carefully review each setting before confirming, as incorrect programming can lead to inefficient watering or system malfunctions․ Online programming guides and templates, readily available from resources like the Rain Dial Doctor, can be invaluable during this process․
Setting the Date and Time
Accurate date and time settings are crucial for proper scheduling․ Within the programming mode, navigate to the “Date” setting using the up/down arrow buttons․ Use the “Enter” or “Select” button to activate the setting, then input the current month, day, and year, confirming each entry․
Next, proceed to the “Time” setting․ Input the current hour and minute, paying attention to AM or PM designation․ Some models may require a 24-hour format․ Double-check your entries to ensure accuracy, as incorrect time settings will misalign your watering schedules․
Remember to save your changes after setting both the date and time․ Online resources, including Irritrol’s official documentation and guides from repair specialists, offer visual aids and step-by-step instructions if you encounter difficulties during this process․
Programming Watering Schedules
To program watering schedules, first access the programming mode․ Navigate to the “Schedule” or “Program” option using the controller’s buttons․ You’ll typically begin by selecting a program number (A, B, or C, if available)․ Then, choose the start time for your watering cycle․ Utilize the up/down arrows to set the desired hour and minute․
Next, designate the days of the week for the schedule to run․ Options usually include individual days, groups of days (weekdays/weekends), or intervals (every other day)․ Finally, assign the zones to be activated within this schedule․ Remember to save each program after configuration․
Refer to online programming guides and templates for visual assistance․ The Rain Dial Doctor and Irritrol’s website provide valuable resources for mastering schedule creation․
Adjusting Run Times for Each Zone
Adjusting run times is crucial for efficient watering․ After selecting a zone within the programming mode, use the controller’s buttons to modify the duration․ Typically, you’ll input the run time in minutes, ranging from a few minutes for short cycles to longer durations for deeper watering․ Consider the plant type, soil composition, and local climate when determining appropriate run times․
Observe your landscape to identify areas receiving insufficient or excessive water․ Adjust run times accordingly, increasing for dry spots and decreasing for overly saturated areas․ Remember to save changes after each adjustment․ Online resources, like the Rain Dial Doctor’s guides, offer detailed instructions and troubleshooting tips․
Regularly review and refine run times based on seasonal changes and weather conditions․
Cycle and Soak Functionality
The Cycle and Soak feature optimizes water absorption and minimizes runoff, particularly beneficial for sloped landscapes or compacted soils․ This function divides a programmed run time into multiple shorter cycles, interspersed with “soak” periods․ During the soak period, water penetrates the soil, reducing water waste and promoting healthier root development․
To activate Cycle and Soak, access the programming mode and navigate to the relevant settings․ You’ll typically define the cycle length and soak duration․ Experiment with different settings to find the optimal configuration for your specific landscape conditions․
Consult the Irritrol RD 600 manual or online guides for detailed instructions on enabling and customizing this feature․ Proper implementation significantly improves irrigation efficiency․
Advanced Programming Features
Explore features like rain sensor compatibility, seasonal adjustments, master valve control, and holiday mode for tailored irrigation․ These options enhance efficiency and water conservation․
Rain Sensor Compatibility and Setup
The Irritrol RD 600 is compatible with most wired rain sensors, offering an efficient way to prevent irrigation during rainfall․ To connect a rain sensor, locate the designated sensor terminals on the controller’s circuit board – typically labeled “SEN” or “SENSOR”․
Wiring involves connecting the sensor’s common wire to the “C” terminal, and the sensor’s normally closed wire to the “SEN” terminal․ Ensure the power is OFF during wiring; Once connected, access the programming mode to enable the rain sensor function․ This usually involves selecting a sensor option within the programming menu, telling the controller to pause scheduled watering when the sensor detects rain․
Proper setup prevents water waste and promotes responsible irrigation practices․ Refer to the rain sensor’s specific instructions for optimal performance and adjust sensitivity settings as needed․
Seasonal Adjustments
The Irritrol RD 600 allows for convenient seasonal adjustments to watering schedules, adapting to changing weather patterns and plant needs․ As seasons transition, water requirements fluctuate; this feature optimizes irrigation efficiency․ Access the programming mode and locate the “Seasonal Adjust” function․
Typically expressed as a percentage, this adjustment uniformly increases or decreases run times across all zones․ For example, a +10% adjustment increases all run times by ten percent, ideal for hotter, drier months․ Conversely, a -20% adjustment reduces run times, conserving water during cooler, wetter periods․
Regular seasonal adjustments prevent over or under-watering, promoting healthy landscapes and minimizing water waste․ Monitor plant health and local weather conditions to determine appropriate adjustment levels․
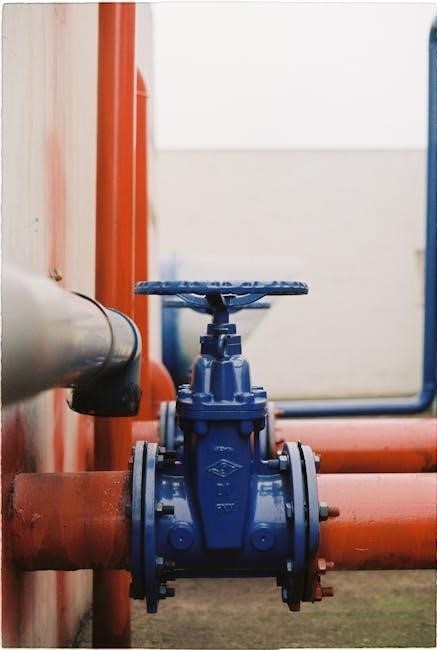
Master Valve Control
The Irritrol RD 600 offers a master valve control function, providing a centralized shut-off point for the entire irrigation system․ This feature is crucial for safety, maintenance, and water conservation․ A master valve, installed on the main water supply line, is controlled by a dedicated terminal on the RD 600 controller․
Enabling master valve control within the programming mode ensures that all zones are disabled if the master valve fails to open or close correctly․ This prevents potential flooding or water damage․ The controller can also be programmed to automatically shut off the master valve during rain events, when connected to a rain sensor․
Properly configured master valve control enhances system reliability and simplifies winterization procedures, offering a convenient way to isolate the irrigation system from the water supply․
Holiday Mode Activation
The Irritrol RD 600’s Holiday Mode is designed to temporarily suspend scheduled watering programs during extended absences․ This prevents unnecessary water usage and potential overwatering while you’re away․ Activation is typically achieved through the programming interface, allowing you to specify a start date and duration for the suspension․
When Holiday Mode is active, all programmed watering schedules are overridden, ensuring no zones are activated until the specified end date․ This feature is particularly useful for vacations or prolonged periods of inactivity․ Upon returning, simply deactivate Holiday Mode to resume normal watering operations․
Utilizing Holiday Mode contributes to water conservation and protects your landscaping from damage caused by excessive irrigation during your absence, offering peace of mind and responsible water management․
Troubleshooting Common Issues
This section addresses frequent problems like power failures, zone activation failures, incorrect time displays, and deciphering error codes for the Irritrol RD 600 controller․
Controller Not Powering On
If your Irritrol RD 600 controller fails to power on, several checks are necessary․ First, verify the power supply connection – ensure it’s securely plugged into both the controller and a functioning electrical outlet․ Confirm the outlet is receiving power by testing it with another device․
Next, inspect the controller’s fuse․ A blown fuse is a common cause of power loss and should be replaced with a fuse of the correct amperage rating, as specified in the manual․ Check the transformer for any signs of damage or malfunction․ If the transformer is faulty, it will need replacement․
Also, examine the wiring connections to the transformer, ensuring they are tight and free from corrosion․ A loose or corroded connection can interrupt the power supply․ Finally, if the issue persists, consider a potential internal component failure requiring professional repair or replacement․
Zone Not Activating
When a specific zone fails to activate with your Irritrol RD 600, systematic troubleshooting is crucial․ Begin by verifying the programming – confirm the zone is enabled within the schedule and that the run time isn’t set to zero․ Check the valve wiring connections at both the controller and the valve itself, ensuring they are secure and free from corrosion․
Manually test the valve by briefly applying power directly to the valve solenoid to confirm it’s functioning correctly․ If the valve operates during manual testing, the issue likely lies within the controller or its wiring․ Inspect the solenoid for any physical damage․
Also, examine for any breaks or shorts in the zone wiring․ A faulty valve or a wiring issue are the most common causes, but a controller malfunction is also possible․
Incorrect Time Display
An inaccurate time display on your Irritrol RD 600 controller can disrupt programmed watering schedules․ First, access the programming mode and navigate to the “Date and Time” settings․ Carefully re-enter the current date and time, paying close attention to AM/PM designations․ Ensure the correct year is selected, as this is a common oversight․
If the controller features a battery backup, a low battery can cause time loss during power outages․ Replace the battery with a fresh one to maintain accurate timekeeping․
Verify that the controller isn’t receiving conflicting time signals from external sources, if applicable․ If the problem persists, consult the user manual for specific reset procedures or contact Irritrol support for assistance․
Error Codes and Their Meanings
The Irritrol RD 600 controller utilizes error codes to diagnose system malfunctions․ While specific codes vary, common indicators signal issues like short circuits, open circuits, or valve failures․ A flashing display or a specific numerical code will appear, prompting investigation․
Consult the comprehensive user manual for a detailed list of error codes and their corresponding solutions․ For example, a “LOW VOLTAGE” error suggests a power supply problem, while a “FAULTY VALVE” code indicates a malfunctioning solenoid or wiring issue․
Document the error code before attempting repairs․ If unable to resolve the issue using the manual, contact a qualified irrigation technician or Irritrol support, providing the error code for efficient troubleshooting․
Maintenance and Care
Regular cleaning, battery checks, and winterization are crucial․ These steps ensure the Irritrol RD 600 controller’s longevity and reliable operation throughout the seasons․
Cleaning the Controller
Maintaining a clean controller is essential for reliable operation․ Before any cleaning procedure, always disconnect the power supply to prevent electrical shock and potential damage to the unit․ Use a soft, damp cloth to gently wipe down the exterior casing of the RD 600․ Avoid abrasive cleaners or solvents, as these can harm the plastic and electronic components․
Pay particular attention to the faceplate and buttons, removing any dust or debris that may accumulate․ For stubborn dirt, lightly dampen the cloth with a mild soap solution, ensuring it’s not overly wet; Never spray liquids directly onto the controller; always apply to the cloth first․ After cleaning, thoroughly dry the controller with a clean, dry cloth before restoring power․ Regular cleaning, performed every few months, will help prevent corrosion and ensure optimal performance of your Irritrol Rain Dial system․
Battery Replacement
The Irritrol RD 600 utilizes a battery to maintain the programmed schedule during power outages․ A low battery can lead to program loss, so regular replacement is crucial․ Typically, a standard 9-volt alkaline battery is used; however, always verify the correct type specified in your controller’s documentation․ Disconnect the power supply before proceeding with battery replacement․
Locate the battery compartment, usually on the controller’s circuit board․ Carefully remove the old battery and dispose of it responsibly․ Insert the new battery, ensuring correct polarity (+ and -)․ A properly installed battery will restore the time and program settings․ It’s recommended to replace the battery annually, or whenever the controller displays a low battery indicator․ This preventative measure safeguards your irrigation schedule and prevents potential disruptions․
Winterization Procedures
Protecting your Irritrol RD 600 and irrigation system during freezing temperatures is essential․ Begin by turning off the water supply to the system․ Next, manually run each zone to blow out any remaining water from the pipes – this prevents cracking and damage․ Disconnect the wires from the valves to prevent corrosion․
Remove the controller’s battery to prevent potential damage from extreme cold․ Consider covering the controller with a weatherproof cover or bringing it indoors if possible․ Inspect valve boxes for proper insulation․ Remember to document your wiring configuration before disconnecting anything for easier reassembly in the spring․ Proper winterization ensures a smooth start-up when warmer weather returns, extending the life of your irrigation components․
Resources and Support
For comprehensive assistance with your Irritrol RD 600, numerous resources are readily available․ The official Irritrol website hosts user manuals and programming guides for the RD 600, RD 900, and RD 1200 series․ “The Rain Dial Doctor” provides specialized repair services and detailed programming tutorials, including downloadable PDF templates․
ManualsLib offers downloadable versions of the RD-600 installation and programming manuals․ If you encounter difficulties, consider contacting Irritrol directly through their website for technical support․ Repair and exchange services are also available from specialized technicians focusing on Irritrol / Hardie Rain Dial controllers․ These resources ensure you have the support needed for successful installation, programming, and maintenance of your irrigation system․